3-Step Crusty Bread
This is by far the best bread that I've ever made...that being said I feel that it is only fair to tell you that this is also the only bread that I've ever made...but still, it is amazing. Three steps: Mix, rise, bake. (I guess its four steps if you want to count eating it...technically the most important)
This may in fact be the recipe for the perfect "no-knead" bread. It requires little to no effort, which, if you know me at all, is right up my alley. The complete recipe will follow.
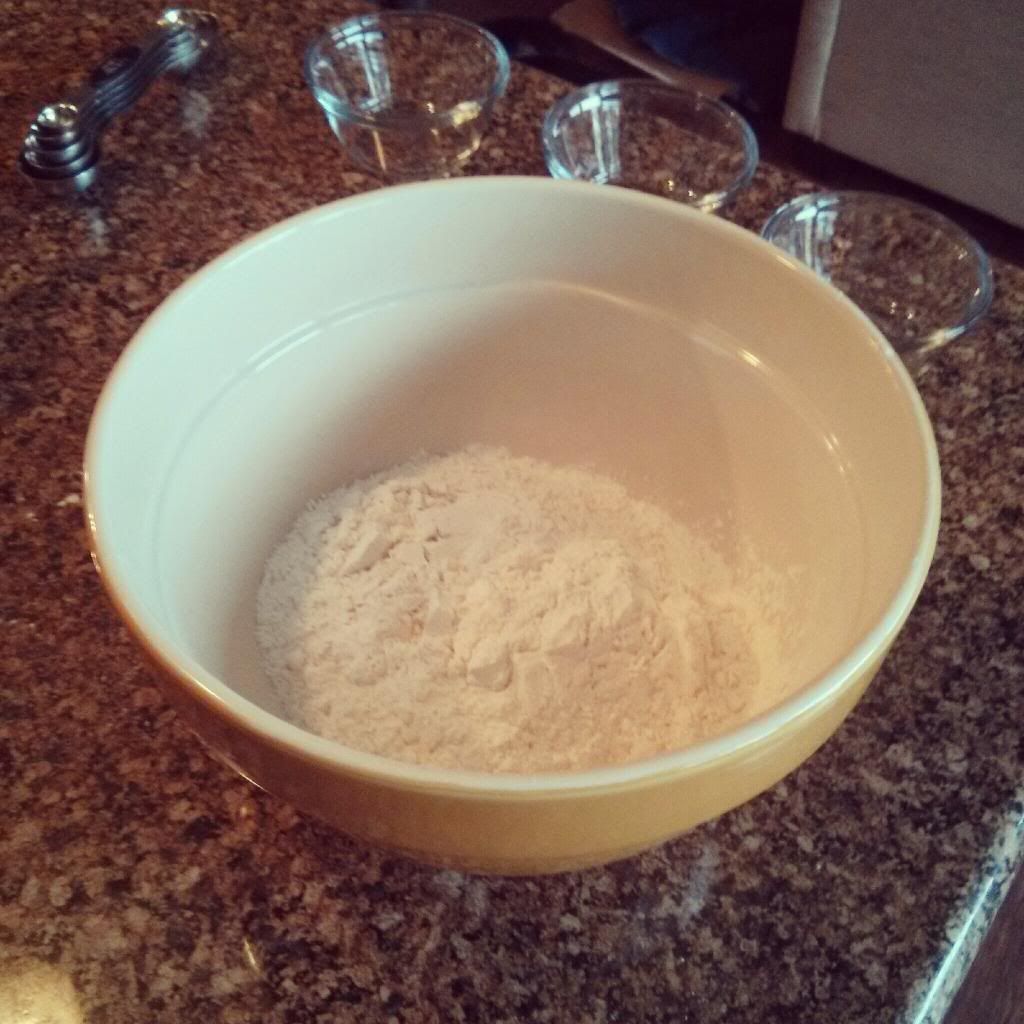
The first step is to add 3 cups of all purpose flour to a large mixing bowl.
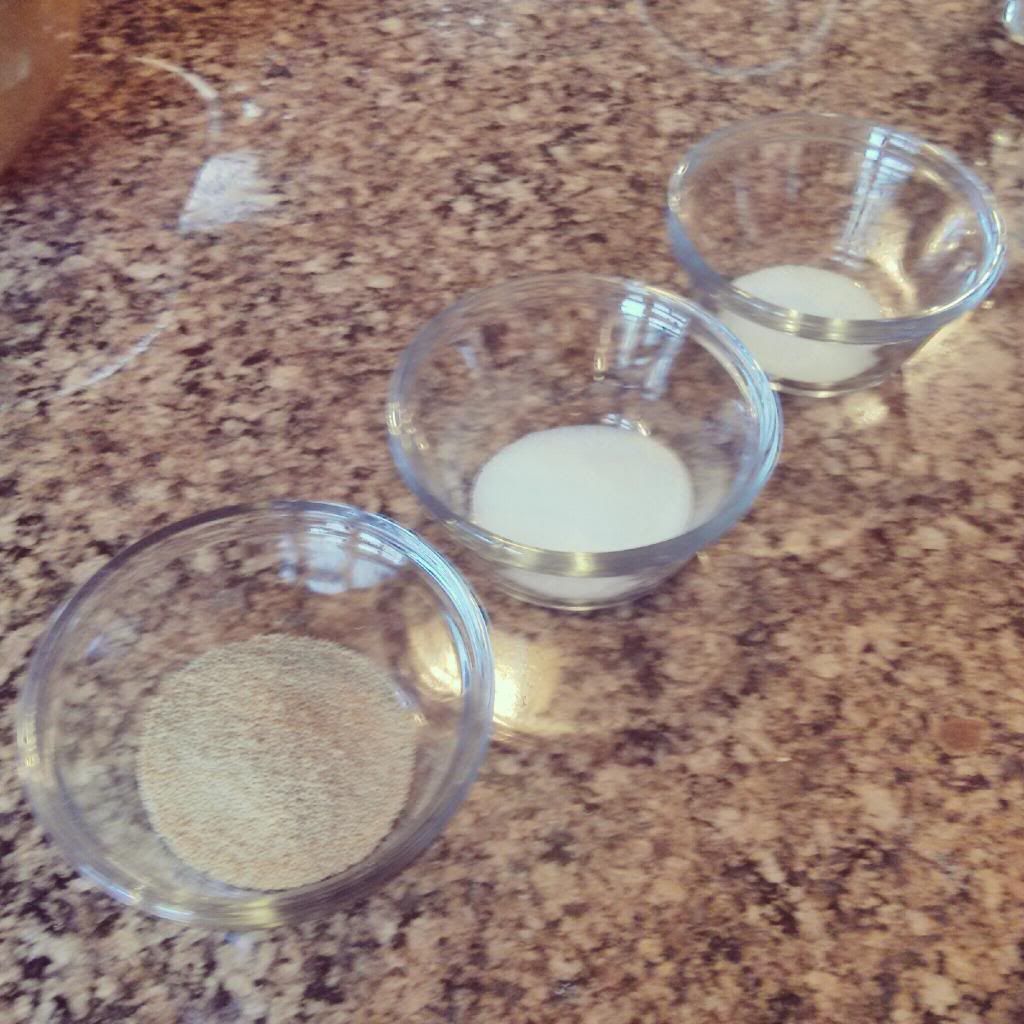
Next add 1/2 teaspoon of yeast (smart tip: this is exactly one Fleischmann's yeast packet), 1- 3/4 teaspoon of salt, and 1/2 teaspoon of sugar.

Mix the dry ingredients together in the mixing bowl.
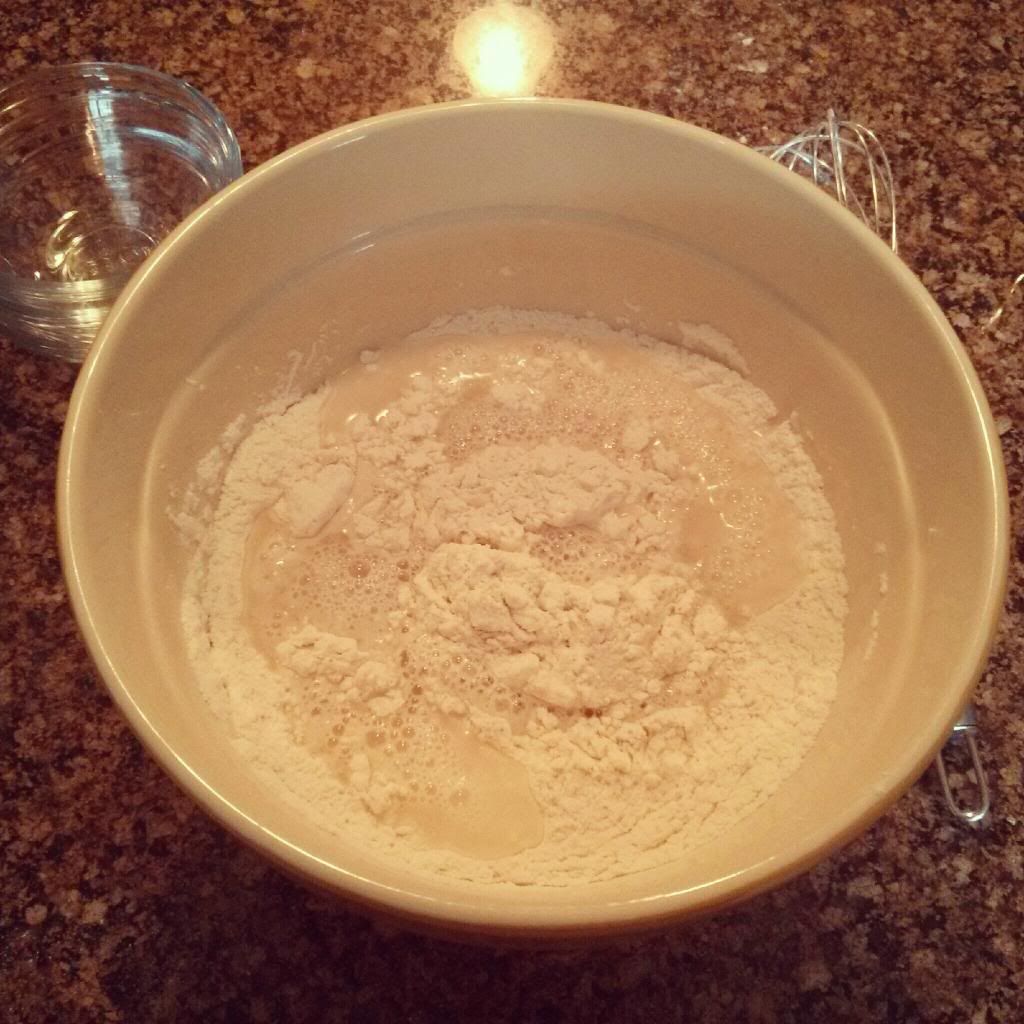
Add 1-1/2 cups of water to the dry mixture.
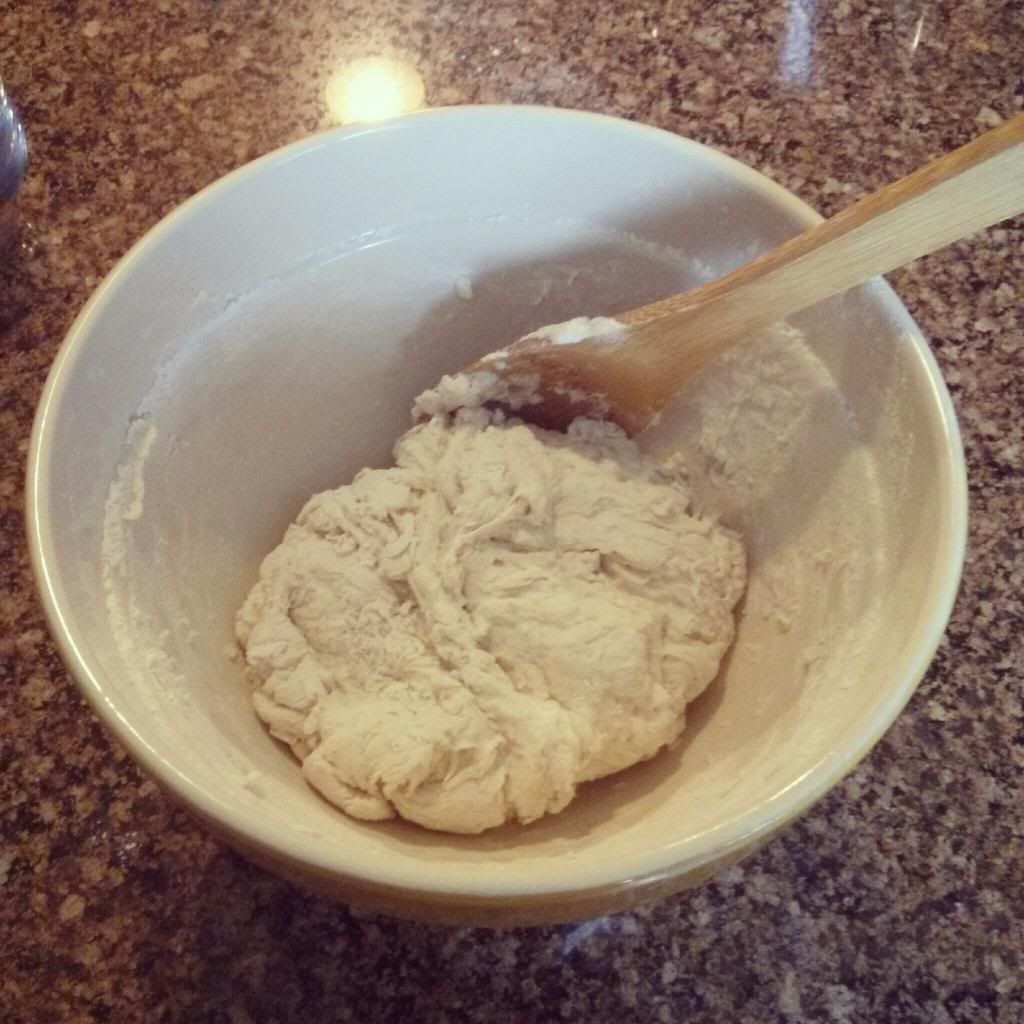
Use a wooden spoon or spatula to mix all of the ingredients together. Breath easy, this is as close to kneading as you will get.
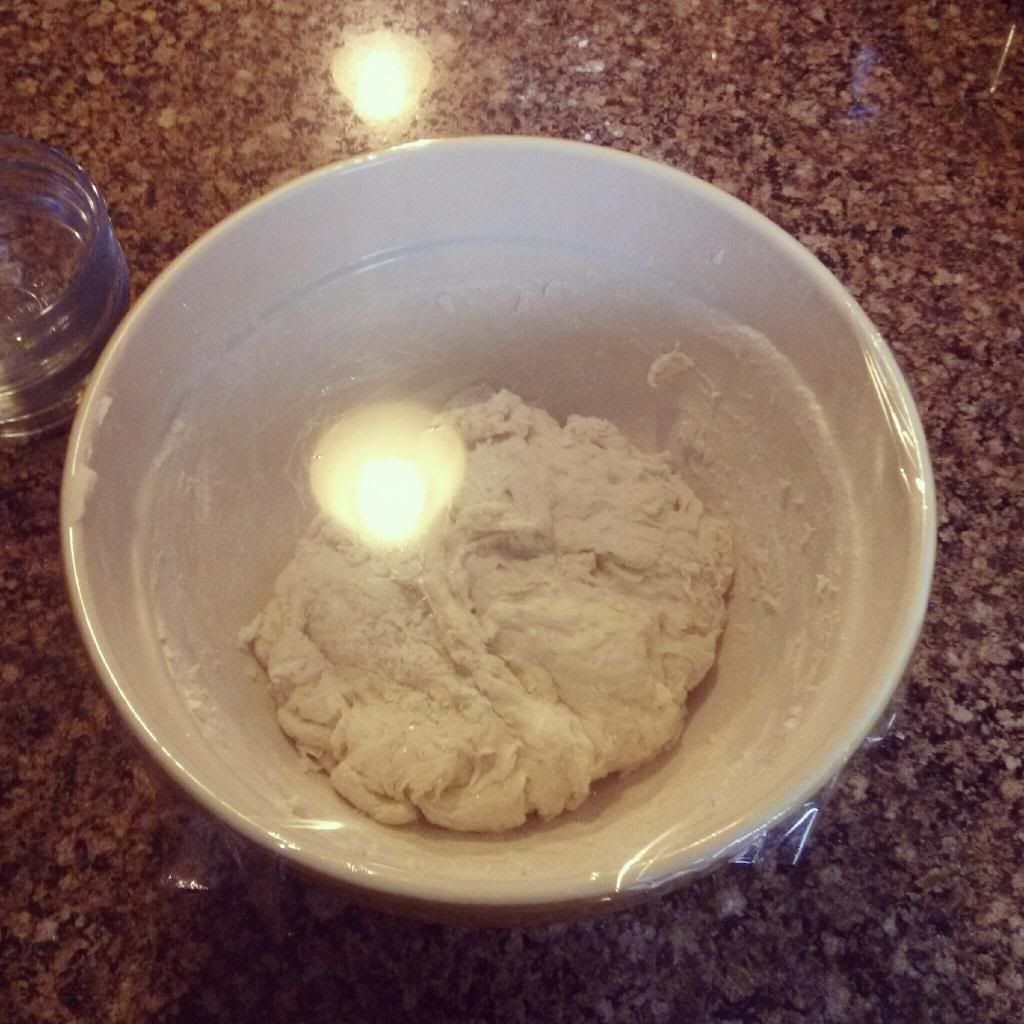
Cover the dough with plastic wrap and let it sit for a whole 12-14 hours.
After you have waited the 12-14 hours you'll have noticed that the dough has risen a pretty significant amount. Turn your oven on to 450 degrees. Place your enamel cooking pot inside while the oven pre-heats for approximately 30 minutes.
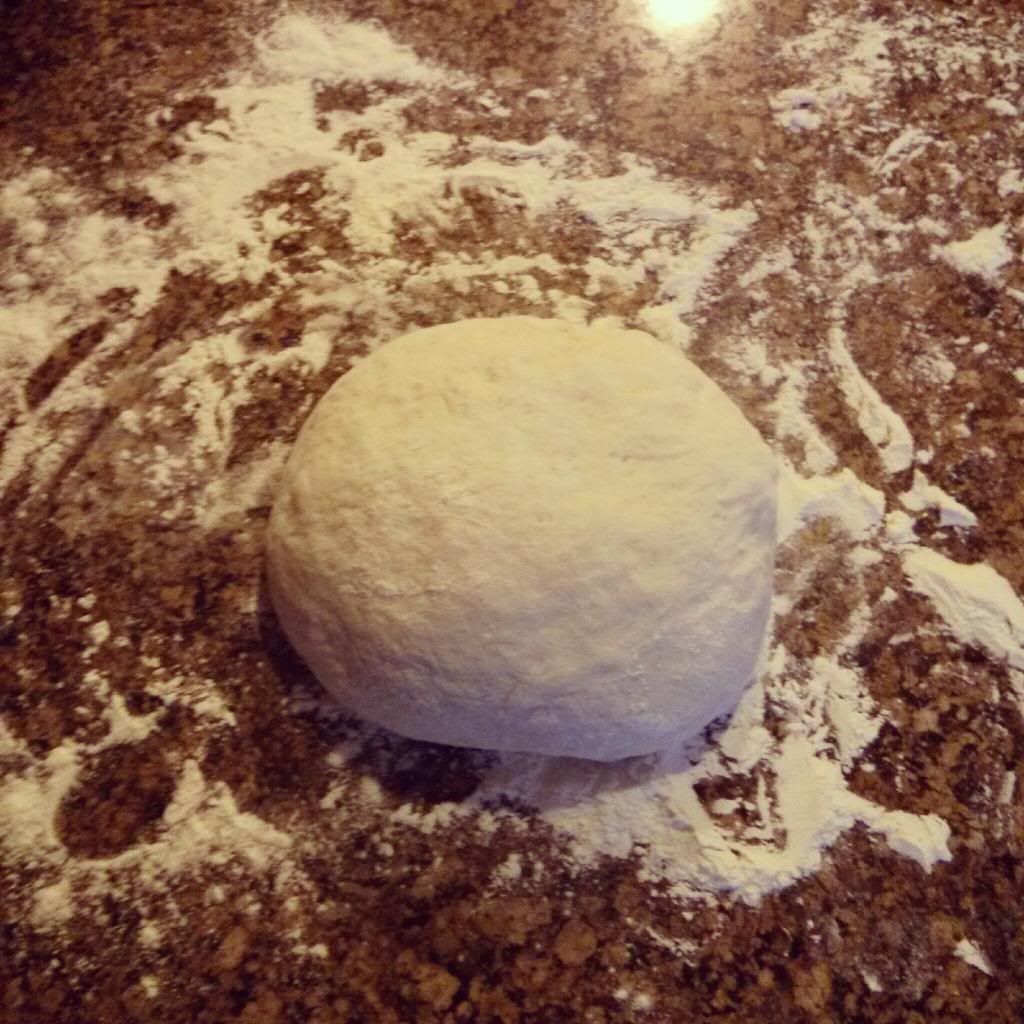
Turn the dough out on to a heavily floured surface. You may want to flour your hands before forming the dough in to a ball shape.
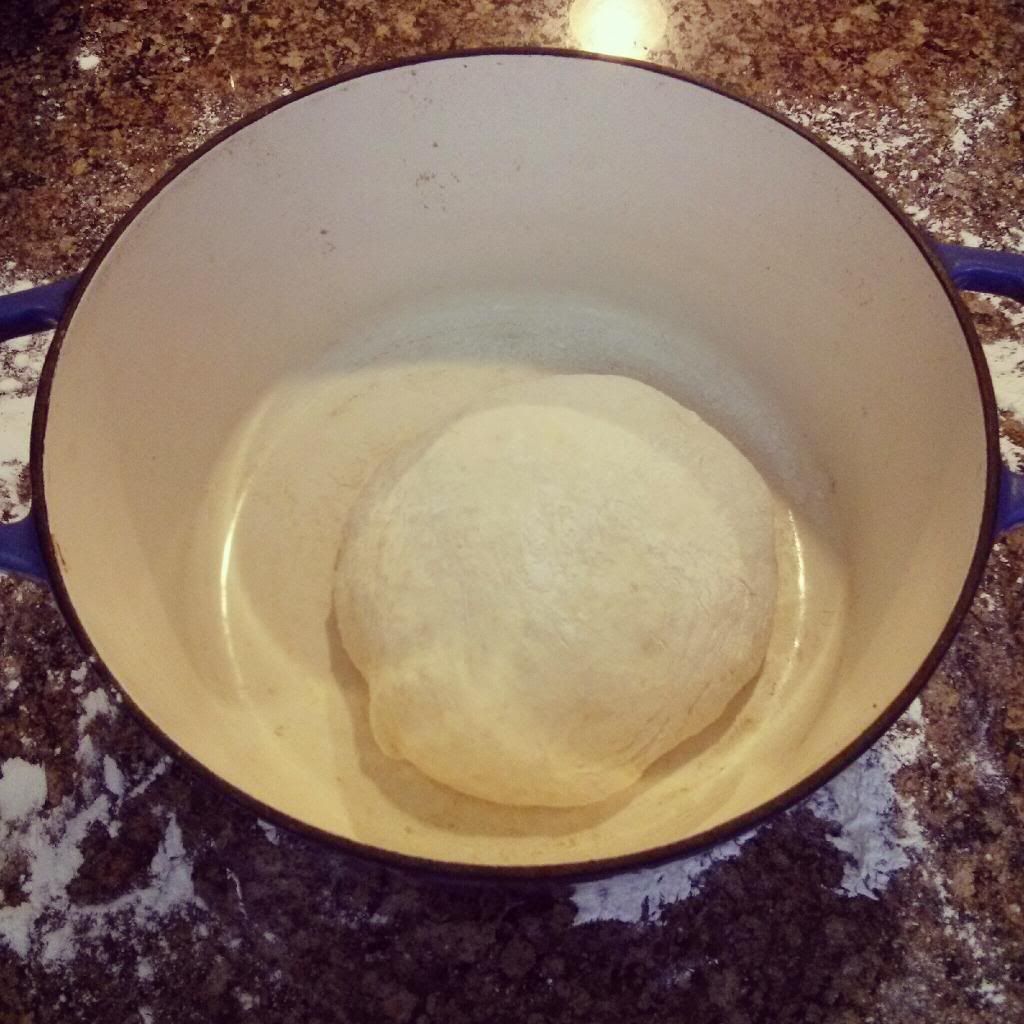
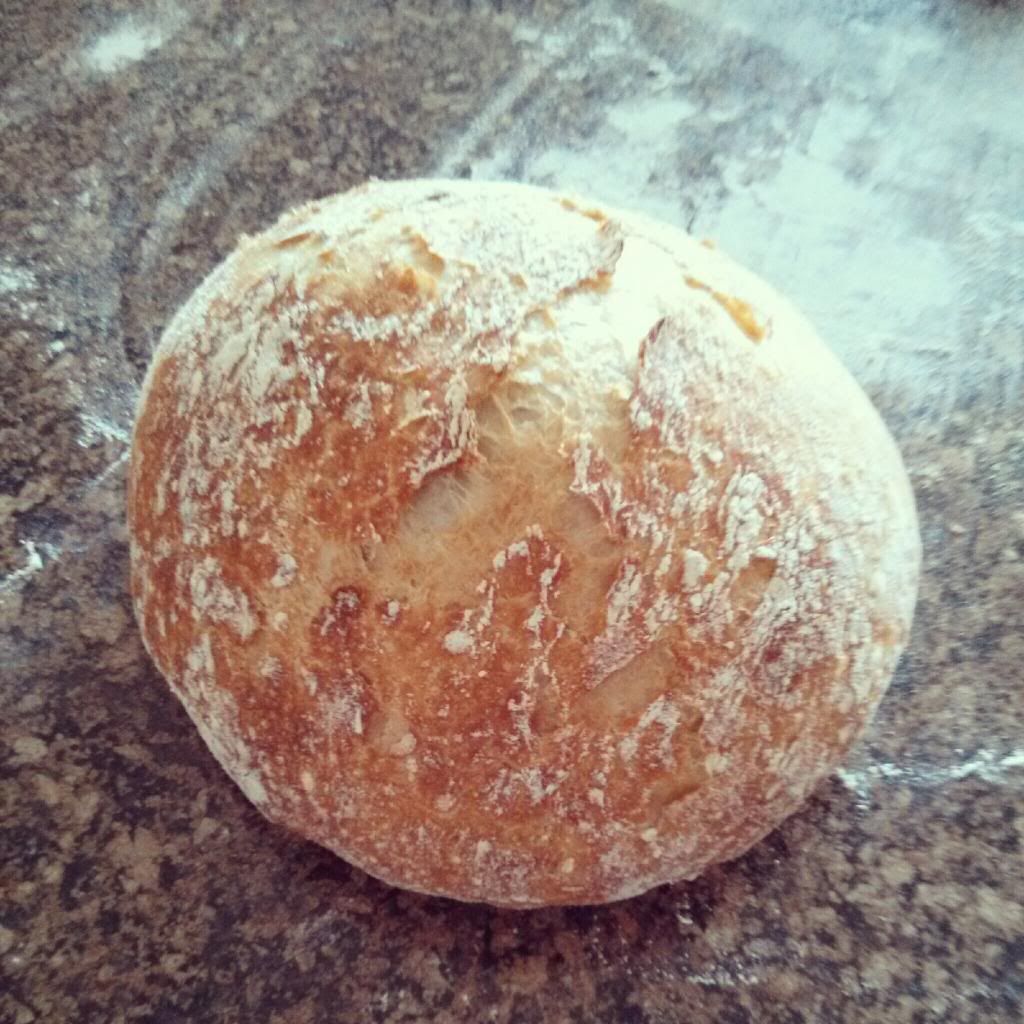
Remove the enamel pot from the oven. Be careful, at this point the pot is very hot (and stays very warm for a long time after being out of the oven). Place your dough in to the pot and place it back in to the oven with the lid on for 30 minutes. Remove the lid and bake for another 15 minutes.
The result is a very easy very delicious crusty bread.
A Happy Saturdays Step Crusty Bread
-3 cups all purpose flour
-1/2 teaspoon yeast (one Fleischmann's yeast packet)
-1-3/4 teaspoon salt
-1/2 teaspoon sugar
-1-1/2 cup water
What you will need:
-enamel pot
-large mixing bowl
-measuring cups
-measuring spoons
-plastic wrap
-mixing spoon